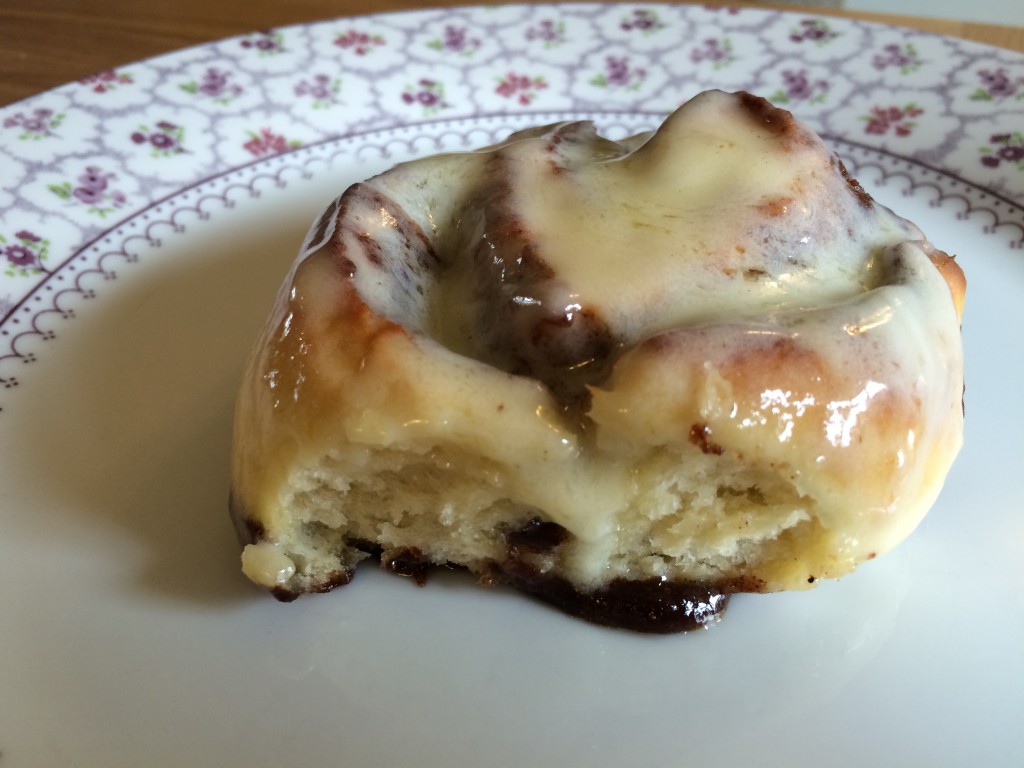
Delectable Iced Cinnamon Rolls recipe
When we were in America on our honeymoon, we discovered a rather brilliant chain called Cinnabon, which basically sells cinnamon rolls in various guises. As huge cinnamon fans, we wish we had such a place here in the UK! We often buy the frozen cinnamon rolls from Ikea to have for breakfast, but they do not compare favourably to the softness and sweetness of the Cinnabon rolls. So when I was perusing Pinterest the other day, I was delighted to stumble upon a copycat recipe on a lovely blog called Jo Cooks, who got the recipe from a 90s cookery book by Todd Wilbur called ‘More Top Secret Recipes’. Intrigued, I just had to give it a try, and I’m pleased to report a highly satisfactory outcome! Keep reading to see how I got on with trying the recipe and do have a go at making it yourself – you will not be disappointed.

Ingredients
Roll dough:
- 1 sachet of yeast
- 250ml warm milk
- 100g granulated sugar
- 75g soft unsalted butter
- 1tsp salt
- 2 eggs
- 500g plain flour
Roll filling:
- 200g soft dark brown sugar
- 3tbsp cinnamon
- 75g soft unsalted butter
Icing:
- 113g soft unsalted butter
- 187g icing sugar
- 55g cream cheese
- 1/2tsp vanilla essence
- 1/8tsp salt
Step 1
Combine the flour, sugar, butter, salt and eggs. If using a food mixer, use the cake batter attachment initially.

Step 2
Then warm the milk in the microwave, mix in the yeast and add to the dough mixture, using the dough hook this time.
Step 3
When ingredients are thoroughly combined, cover and leave to rise for an hour in a warm place.
Step 4
In the meantime, make the filling by combining the dark brown sugar, butter and cinnamon.

Step 5
When the dough has doubled in size, roll it out on a lightly floured worktop until it’s about 12 x 16 inches and about a quarter of an inch thick. Then spread the filling over the top like so.

Step 6
Carefully roll up the dough with the filling inside. If it starts sticking to the worktop, dust with a little more flour.

Step 7
Cut into slices of around an inch and a half thick. The rolls don’t look anything like as pretty in real life as they did on the blog where I got the recipe, but that’s fine! Leave them to rise for another half an hour, or, if making them the night before for next day’s breakfast, cover them and put them in the fridge.

Step 8
While they’re rising, make the icing by combining the incredients until light and fluffy. Preheat the oven to around 180 degrees C.

Step 9
Pop them in the oven and bake for about 20 minutes, enjoying the smell of cinnamon filling your kitchen. They’ll be golden on the top when they’re done, and the cinnamon filling will have oozed out of the top like so. Again, they look nothing like as attractive as the picture-perfect ones on the blog I got the recipe from, but that doesn’t matter once you put the icing on.

Step 10
Time to put the icing on. I found the icing mixture was quite thick, but when you put it on straight after they come out of the oven, a spoonful of icing will melt over the bun, encouraged by spreading with a knife.

Make sure that they’re all covered with icing and then they’re ready to eat!

I can’t tell you how delicious these are! Soft, sweet, full of flavour and ever so light and fluffy.

They will happily keep in the fridge for several days if you can’t get through them all straightaway. Lee tells me that they’re nice cold, but you can also get back that straight-out-of-the-oven deliciousness by popping them in the microwave to warm them up. YUM!


